
Making Mushroom Cultivation, cost effective

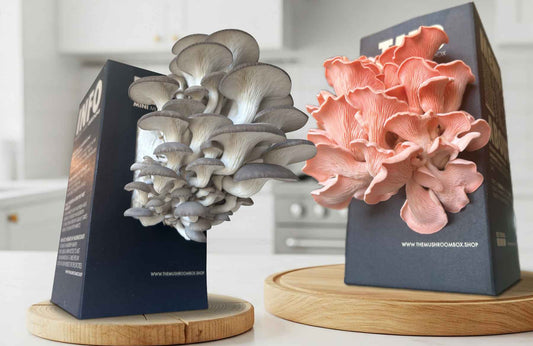
Growing Mushrooms (The Oyster Kind!) 🍄
Did you know you can grow yummy oyster mushrooms right in a bucket using straw? We use a special "lime bath" to make the straw a perfect home for the mushrooms. Here is how to do it step-by-step!

⚠️ Safety First!
Hydrated lime is a great cleaner, but it can be prickly on your skin and eyes. Before you start, always put on your rubber gloves and a mask to keep your hands and lungs happy!
What You’ll Need:
-
Straw: Cut into small pieces (about 5cm to 10cm long).
-
A 20-Liter Bucket: Ask a grown-up to drill holes (about 1cm wide) every 10cm around the sides.
-
Hydrated Lime: A special powder that cleans the straw.
-
Mushroom "Seeds": These are called spawn.
-
A Big Tub: To soak the straw.
-
Safety Gear: Rubber gloves and a face mask.
Step 1: The Magic Bubble Bath 🫧
We need to clean the straw so no "bad" germs grow. Put on your mask and gloves. Fill a big tub with cold water and stir in your hydrated lime (about 1 big spoonful for every 4 liters of water). Put your straw in a mesh bag and dunk it under the water. Use a heavy brick to keep it from floating!

Wait: 12 to 24 hours.
Step 2: Drip, Dry, and Squeeze 💧
Take the straw out of the water. Hang the bag up and let it drip until it isn’t soaking wet anymore.

The Squeeze Test: Keeping your gloves on, squeeze a handful of straw. If only one or two drops of water come out, it’s perfect! If it’s a puddle, it’s too wet.
Step 3: Making the Mushroom Sandwich 🥪
Now, we fill our 20-liter bucket.
-
Put a layer of straw (about 4cm thick) in the bottom.
-
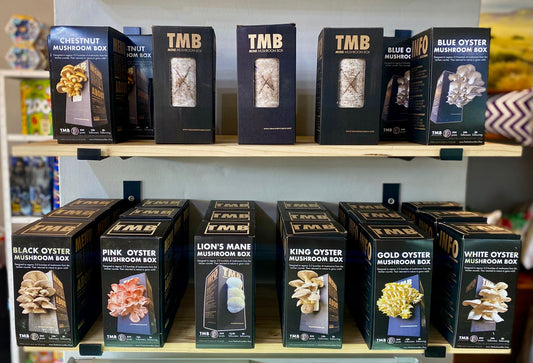
Sprinkle a handful of your mushroom "seeds" (spawn) from your mushroom box on top like sprinkles on a cupcake.
-
Add more straw, then more spawn. Keep going until the bucket is full!
-
Push it down hard with your gloved hands so there are no big air pockets.

Step 4: The Big Sleep 😴
Put the lid on the bucket and hide it in a dark, warm spot inside your house (like a closet). For the next 2 weeks, the mushroom seeds will grow white "roots" called mycelium. It will eventually look like the bucket is filled with white snow!

Step 5: The Mushroom Explosion! 🌟
Once the bucket looks all white, move it to a spot with a little bit of light (but not direct sun). Mist the holes with a spray bottle of water 2 or 3 times a day. Soon, tiny baby mushrooms will pop out of the holes. They grow very fast!

Harvest Time: When the mushroom caps look like flat umbrellas, gently twist the whole bunch off.
Tips for Success:
-
Wash your hands: Mushrooms like a clean home!
-
Fresh Air: Mushrooms breathe just like us, so make sure the room isn't too stuffy.
-
Eat up: Ask a grown-up to help you cook your harvest in some butter - yum!


No comments


0 comments