Your Mushroom Box Hasn't Fruited in 4 weeks? Don't Give Up! Here's Next Step
Your Mushroom Box Hasn't Fruited in 4 weeks? Don't Give Up! Here's Next Step
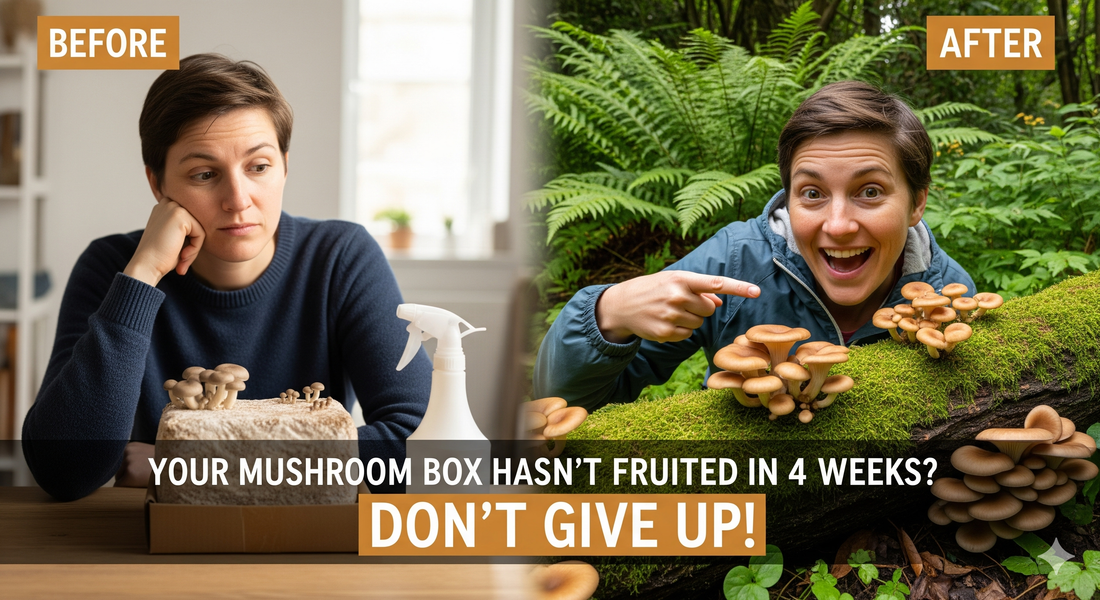
You’ve followed the instructions, you’ve been waiting patiently, and you’ve been checking your Mushroom Box every day with anticipation. But it’s been over four weeks, and there are still no signs of pins.
This means the mycelium within your box doesn't have the nutrients or moisture to continue growing. But we’re here to tell you something amazing: all is not done. In fact, your mushroom-growing adventure is about to take an exciting turn.
While the conditions inside your home might not have been perfect for fruiting, the living mycelium inside your block is very likely still healthy, vigorous, and ready for a new mission. It’s time to take the project outside and let nature take the lead.
From Box to Garden: Giving Your Mycelium a New Home

Think of it as a powerful starter culture for your own perennial mushroom patch. By "planting" your block, you introduce a powerful fungal network into your garden's ecosystem.
Here’s how to do it in five simple steps:
Step 1: Find the Perfect Spot
Mycelium loves moisture and shade. Look for a spot in your garden that doesn’t get a lot of direct sun. Ideal locations include:
-
Under a shady tree or large bush.
-
In a damp garden bed with rich soil or mulch.
-
Best of all: right next to an old log or tree stump!
Step 2: Prepare the Block
Take your mycelium block out of the box. Using your hands, crumble it into large, golf-ball-sized chunks. Don't worry about being too rough; this process actually encourages new growth.
Step 3: Bury Your Mycelium
Dig a shallow hole or trench about 10-15 cm deep in your chosen spot. Place the crumbled mycelium pieces inside and spread them out a little.
Step 4: Cover It Up
Cover the mycelium chunks with a generous layer of moist, organic material. This protects it and provides food. Great options include:
-
Hardwood wood chips or sawdust (a favourite for oyster mushrooms!)
-
Straw or sugarcane mulch
-
Fallen leaves and other garden compost
Step 5: Water and Wait
Give the area a good, deep watering to settle everything in. Now, the magic of patience begins. Keep the area damp, especially during dry spells in Cape Town.
The Real Magic: What Happens Underground?
You haven't just planted a block; you've unleashed an underground superhero. Here’s what your mycelium will be doing:
-
Spreading a Network: The mycelium will begin to grow and expand, creating a vast web through the soil and surrounding wood. This network acts like a fungal internet for your garden.
-
Healing Your Soil (Mycoremediation): This is the truly incredible part. Mycelium is nature’s master recycler. As it spreads, it actively breaks down pollutants, toxins, and contaminants in the soil, helping to restore health and balance to your garden's ecosystem.
-
The Ultimate Reward: Abundant Mushrooms! As the network establishes itself, it will search for a food source, like that nearby tree stump or the wood chips you provided. When the conditions are right—often after a good rain—don't be surprised to see an abundant flush of beautiful, gourmet mushrooms erupting from the wood. This natural growth is often more vigorous and impressive than what can be achieved indoors.
A New Beginning for Your Mushroom Journey
A mushroom box that doesn't fruit indoors is not an end—it's an opportunity to partner with nature on a deeper level. You're contributing to the health of your soil and setting the stage for a delicious, perennial surprise.
While you wait for your garden patch to establish itself, why not give it another go indoors?
Ready to try again? Grab a new Oyster Mushroom Box today and enjoy the best of both worlds—fresh mushrooms in your kitchen now, and a wild patch growing in your garden for years to come!
Ready to start your mushroom farm?
Click the "Pick your Mushrooms" button below!
No comments


0 comments